
In the video below, the host goes through the process of updating the custom railings in her house to achieve a modern and fresh look. The first step involved was demolishing the existing railing, which was done with the help of a Sawzall to cut through the top rail connecting each post. The bottom was removed by prying it off, and the host shared a tip for using cardboard to protect the floors during this process.
After encountering challenges in cutting and removing the posts, the host decided to remove the baseboards and proceeded to cut down the remaining posts. She showcased the use of various tools for this task and emphasized the importance of adapting her approach to overcome obstacles. The removal process caused some drywall damage, which the host addressed through drywall repair.
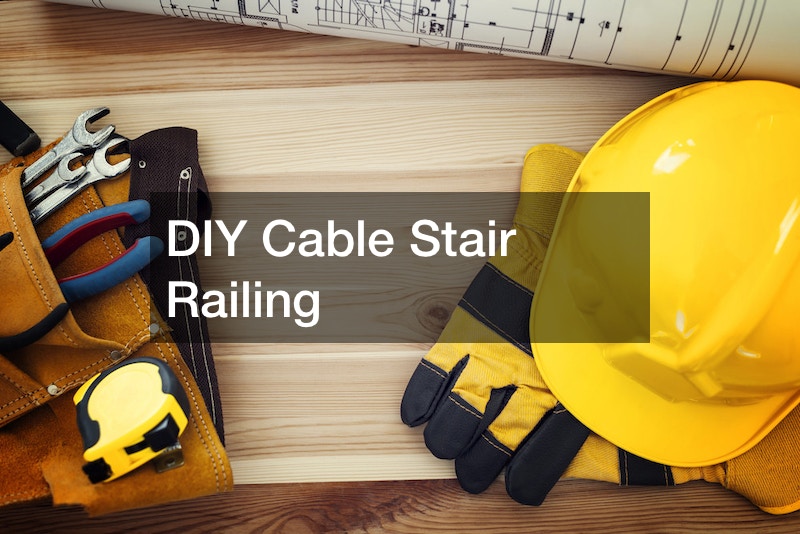
With the old railing successfully torn down, she transitions to the installation of the new railing system. The host chose the Viewrail system, praising its ease of installation and durability based on her experience with a previous project. The installation involved setting the posts, attaching the top rail, and adding cables. The host demonstrated how to use a post level and composite shims to ensure the posts were plumb before securing the railing. Ultimately, the finished project highlighted the transformation achieved with the modernized railings.